Seal it up....
November 9-10th -- It was quiet all day Friday, but early Saturday morning the insulation crew showed up and then I received a text from my contractor apologizing for the lack of warning that a crew would be working today. This crew would install the rolled insulation now that the sprayed insulation had set and cured. I let the insulators in and they began their work.
Not only did they install lots of insulation, almost all of it was wrapped up and sealed in plastic sheeting.
Starting in the master bedroom, here is the insulated, gabled ceiling
Not only did they install lots of insulation, almost all of it was wrapped up and sealed in plastic sheeting.
Starting in the master bedroom, here is the insulated, gabled ceiling

Here is the view from the master bedroom looking down the hallway with the closet to the right and the entrance to the master bathroom on the left.

Back in the master bedroom looking to the south at the fireplace...

In the master bedroom looking west to the doorway to the covered porch.


Here is the now well-insulated attic above the door way that leads out of the master suite hallway.

This is the ceiling of the mudroom rear-entry.

A well-sealed and insulated exterior wall in the gathering room.

The southwest wall of the gathering room, with the fireplace to the front right of the photo.

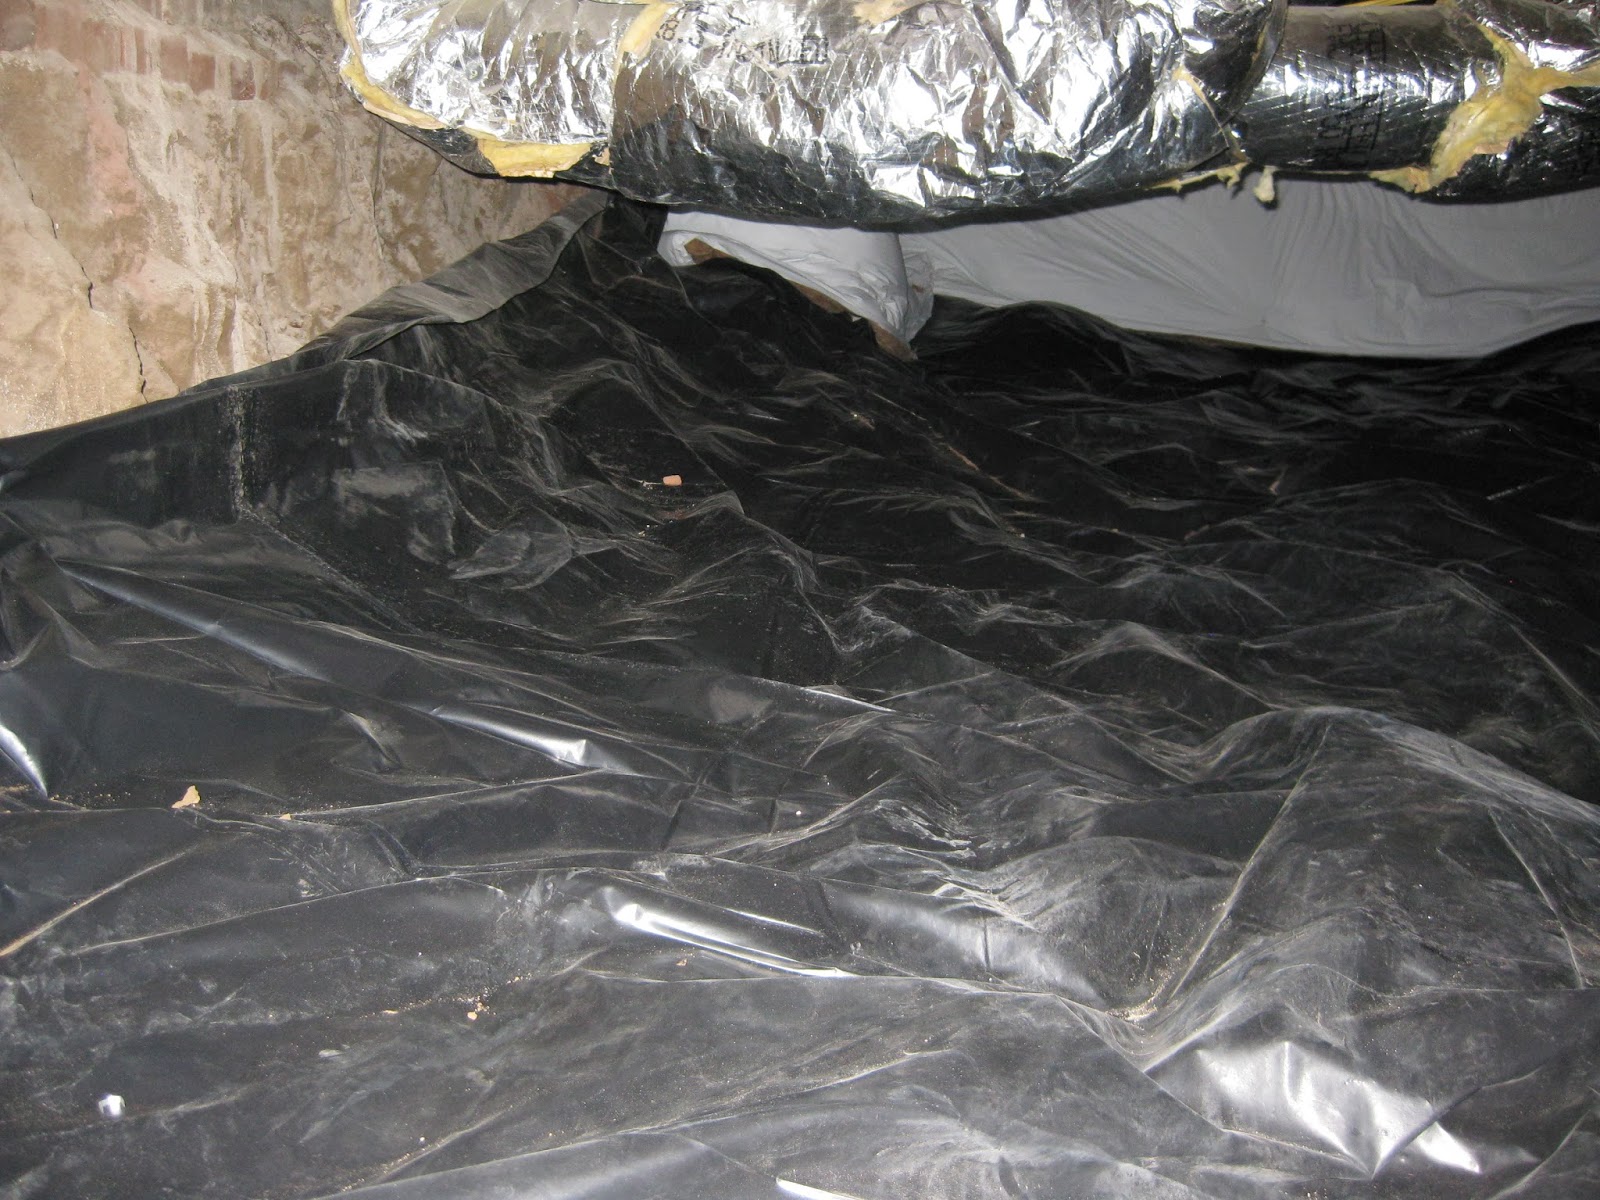
The insulation crew was also charged with sealing up the crawlspace underneath the gathering room addition. The first photo below is what the crawlspace looked like after the heating venting was installed.

This series of photos shows how the crew put a vapor barrier cover on the ground, and an insulating sheet around the foundation walls.


Next up will be to schedule the inspection for the insulation, but we can't do that until tomorrow because of the Veteran's Day holiday. Once that inspection is done, the dry wall process will begin.
No comments:
Post a Comment