Friday, January 31, 2014

Update on greenhouse....

Update on the greenhouse...

January 31st -- I think I have learned more about greenhouses in the last few days than I ever thought was:  a) humanly possible, and b) something I would be interested in.

You'll remember that in a recent blog post, I wrote about the complications of the greenhouse (you can refresh your memory by clicking on this link 

On Monday the architect and contractor and I met to discuss the greenhouse.  Later that evening, I received an e-mail from the architect in which he raised some issues and asked if we should put the brakes on its construction.  He raised some serious issues about safely heating the greenhouse in the winter, ventilation, sufficient electricity to both heat and ventilate the greenhouse, and given that he has never designed a greenhouse, and a passive solar greenhouse for that matter, would I want him to do the research required to do so.

After doing my own research, I replied that they should proceed with the design as is, but that it would be critically important to make the structure as weather-tight as possible.  The glass walls will be double-pane thermo glass and the skylights in the roof will also be double-pane thermo glass. I will also need to insulate the knee-walls that the glass will sit on, and we will need to use something like a rubberized pond liner that will go from the knee-walls to the floor of the greenhouse to avoid drafts.  The floor of the greenhouse will be dirt and pea gravel.

 I was able to find some relatively inexpensive solutions to the problems the architect raised about heating and cooling the greenhouse, and being able to do so automatically.   I found a 3-speed fan with louvers that close tight (to prevent cold air from entering the greenhouse) when the fan is not blowing ($149).  The fan can be plugged into a cooling thermostatic outlet adapter ($15) that will signal the fan to turn on when the temperature inside the greenhouse is over 78 degrees and will turn the fan off when the temperature falls below 70 degrees.  This will be most important in the warmer months.  If the amount of sunlight that enters the green house becomes too much, I can also hang external blinds outside the greenhouse to control the heat.  In the summer I can also manually open the skylights in the roof of the greenhouse for temperature control and ventilation. My preference is to automate the cooling and heating of the greenhouse as much as possible.

To heat the greenhouse during the winter months, when the sun is low in the sky and the days (and sunlight) are shorter, I can connect a portable electric utility safety "milk house" heater ($50) to a different thermostatic heating outlet ($18) that will turn the heater on when the temperature in the greenhouse dips to 35 degrees and then automatically turns off when the temperature hits 45 degrees.  The utility heater also has its own "antifreeze" mechanism so that the systems that control the heater are redundant.  There are also heavy duty heating coils ($94 for 100 feet) that I can embed in either soil or run  along the floor of the greenhouse that will also generate heat and can be controlled automatically by the heating thermostatic outlet adapter (each adapter has two sockets).  The heating coils are great because they not only warm the soil to boost the seed germination process, but the heat given off by the coils will also warm the greenhouse.  Finally, I used a BTU calculator to determine that the utility heater could generate enough heat for this rather small greenhouse.  However, in addition to the heating coils, I can also mount halogen light fixtures ($25), controlled by a simple appliance timer, in the greenhouse that will not only provide another source of light for growing, but will also generate heat.

Of course, this will be a trial and error process to see if this will work.  The good news is that the fan, heater, heating coils, and lights don't draw that much electricity, and won't all be powered up at the same time, so no additional wiring or addition of a special circuit will be required.  And, their cost is relatively inexpensive.

Initially, I rather naively thought that constructing a passive solar greenhouse was just a matter of putting a three-walled, roofed structure against the south side of my brick house and that the brick wall would hold the heat along with an internal water feature (e.g., milk jugs filled with water or a mini-pond).  Needless to say, things are more complicated than this.  Although my greenhouse may not be a  passive solar structure, I do hope that with the heating and cooling devices I just described, it will be a 12-month, functional structure.


Thursday, January 30, 2014

Good-bye carpenters, Hello painters....


Good-bye carpenters, Hello painters....

January 29th - 30th --   The finish carpenters are in finishing mode as they need to move on to other jobs, even though the crew is big enough that they are working on several jobs at the same time.  In addition to the trim work, hanging doors, and building, they also set the cabinets, the stairs in the basement stairwell, and they also do various other things, as I found out on their last day here.  

All the built-ins will be painted, but the carpenters wanted to set up the library ladder hardware and rail system, as shown in the photos below.


They also constructed the ladder (laying on its side on the work table below) with the steel steps, as shown here.


The bookcases and library ladder really turned out well, but as soon as everything was tested, they took the hardware and ladder down because the painters will need to paint the bookcases first and then the rail hardware and the library ladder will be installed.

The finish carpenters also installed some of the appliances in the kitchen, but only the electric whips (these are the electric lines) are in with no actual outlets, so the appliances have been mounted, but there is no power to the appliances yet.  Nevertheless, they are nice to look at.  Here you can see the vent hood over the range top.  The protective film is still over the stainless vent hood.


The microwave has also been hung on the wall next to where the double ovens will be set.


When I came home yesterday, the house seemed so empty because all of the table saws, saw horses, compressors, ladders, tools and all evidence of the presence of the finish carpenters was gone.  


However, in addition to all the wonderful work they did, they did leave behind the custom headboard I asked them to build for the master bedroom.


Although I know that the finish carpenters will be back to complete a few more minor tasks, the house feels so empty without them.  I really enjoyed their presence, their good nature, their singing, and the amazing work they have left behind.  I can't wait to see them again so that I can thank them for all they have done. 

However, all three of the painters are now here, and they are also great to have around.  Yesterday the carpenters were on the main level singing to the country music on their radios, while the painters were on the upper-level singing to the reggae music on their radios.  

The painters spent yesterday filling in the nail holes with wood filler, sanding over harden wood filler, applying caulk and covering the floors, tile and windows.  The plan was to retexture the walls and then apply primer in the master bedroom and the master bedroom closet.  There is also a lot drywall work to be done in the master bathroom.  I am hoping that the master bedroom and bathroom will be completed soon so that I can move in while work is completed in the rest of the house.

Here are some photos of the primer on the walls in the master bedroom suite, starting with the closets


Here is the texture spray machine in the master bedroom


Here is the taped, textured and primed master bedroom.


 Here is the primed master bathroom


The floors have been covered on the main level:  here is the guest suite bedroom and bathroom


Here is the taped floor in the dining room


The painters will be here for a while, and I'm happy they are back!


Tuesday, January 28, 2014

Finish carpenters rock....

Finish Carpenters Rock....

January 28th -- This morning the finish carpenters and the painters arrived on site.  I haven't seen the painters since the end of last year, so it was great to see them.

Every time I travel I have a mini-battle with the post office.  I either go online or complete the yellow vacation hold card.  I request that my mail be hold while I'm away and I always check the option to have the accumulated mail delivered when the vacation hold ends.  This is a very simple request, but this only seems to work about 50% of the time.  So, part of this project includes a mail slot in the brick wall in the front of the house, which means that I won't have to request that my mail is held when I travel.  The only thing the postal carrier could screw up is to not push the mail through the slot.

Ta da....and here is the new mail slot from the front porch....


And, here is the view of the mail slot from inside the foyer -- the finish carpenter used some of the original mill work in the house to frame the opening.  Right now there is a bunch of insulation in the slot -- the pink stuff below -- because we will need to paint the interior of the mail slot and weather-proof the opening.


The work on the built-ins in the mudroom progress, including the sliding doors on the coat closet, shown here with the doors open and closed.


Here is the shelf above the coat hook cleat in the mudroom with really nice detailing on the corbels that hold the shelf.


Here is the bench with the cubbies over a second coat hook cleat, which means that I need to go shopping for the coat hook hardware.


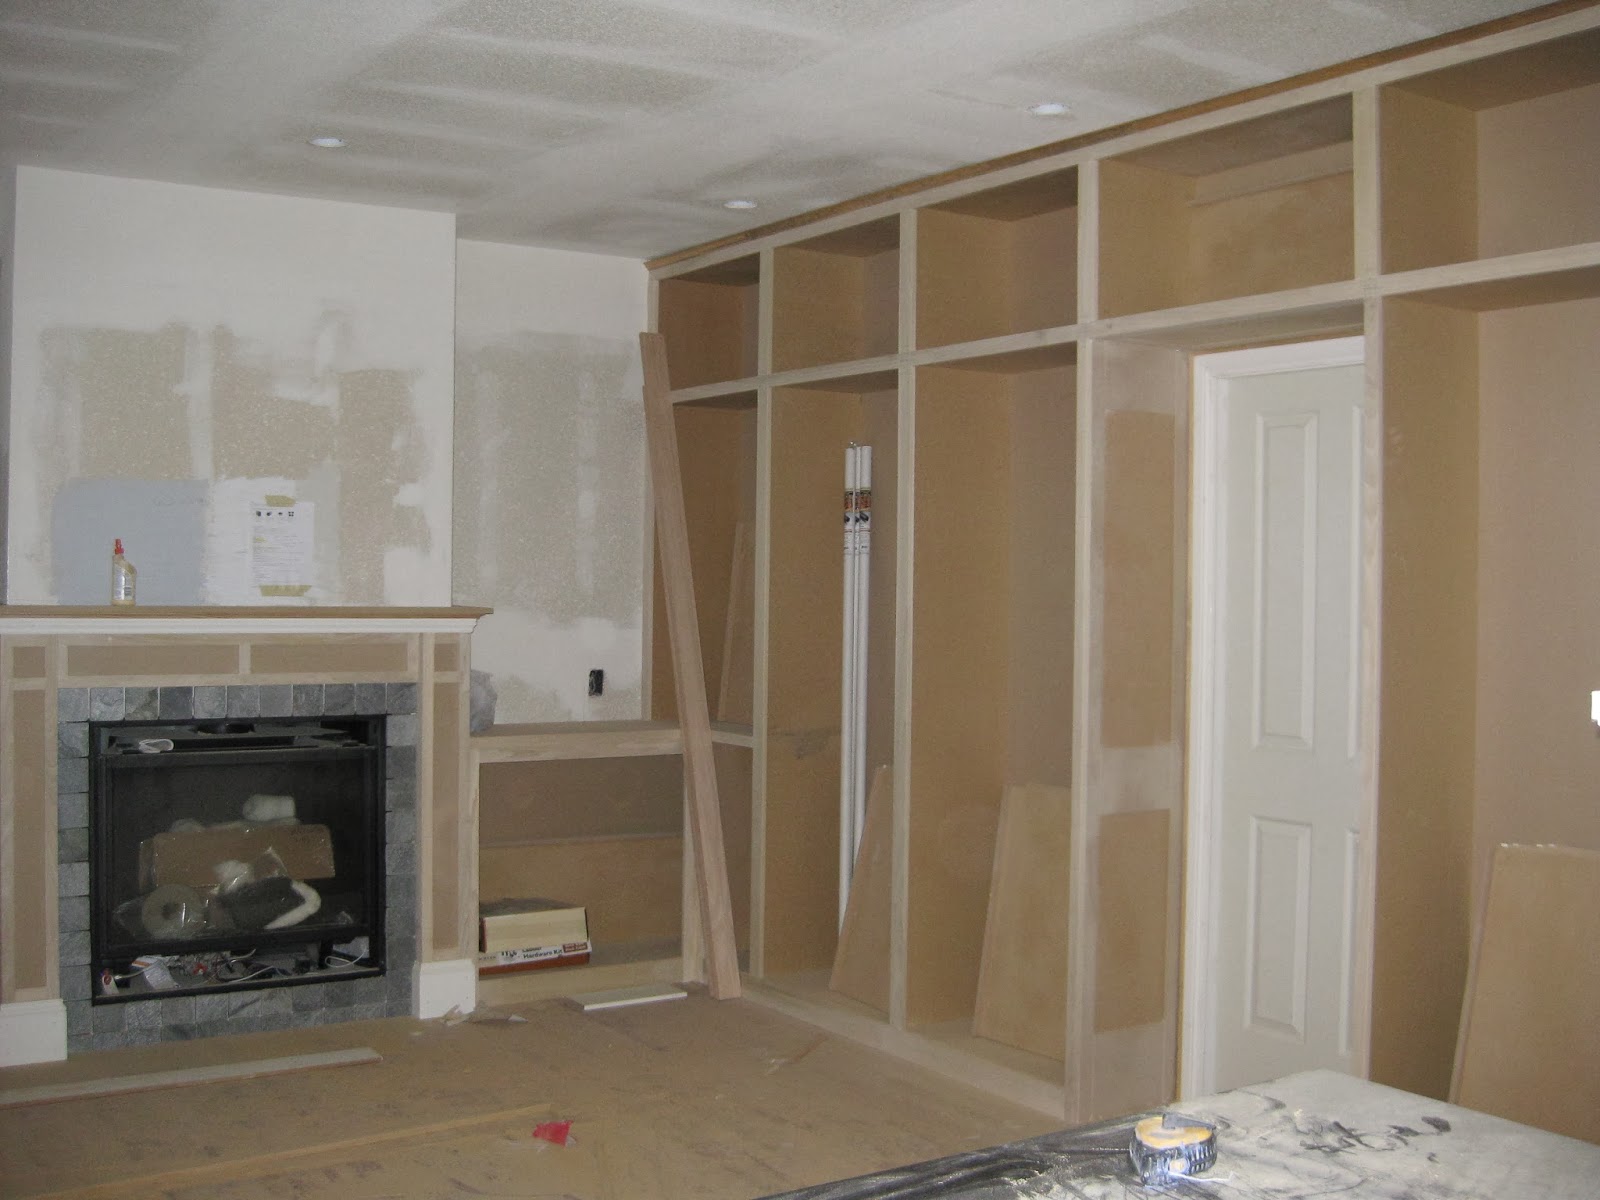
The bookshelves are just about done and the carpenters have done the math to determine the slant of the seven-foot library ladder.  Soon they will install the hardware for the rail that the ladder will slide along.


There are many reasons why these finish carpenters rock, and here is one -- attention to detail.  Below is the pocket door that leads to the basement stairwell.  You'll see that the finish carpenters added a design detail on the sides of the bookshelves that surround the door to match the panel design that is on the door.  How cool is that?


Today the finish carpenters were working to create doors on the AV cabinet that is shown here that is between the fireplace and the bookshelf.


The finish carpenters also installed all the hardware on the cabinets.

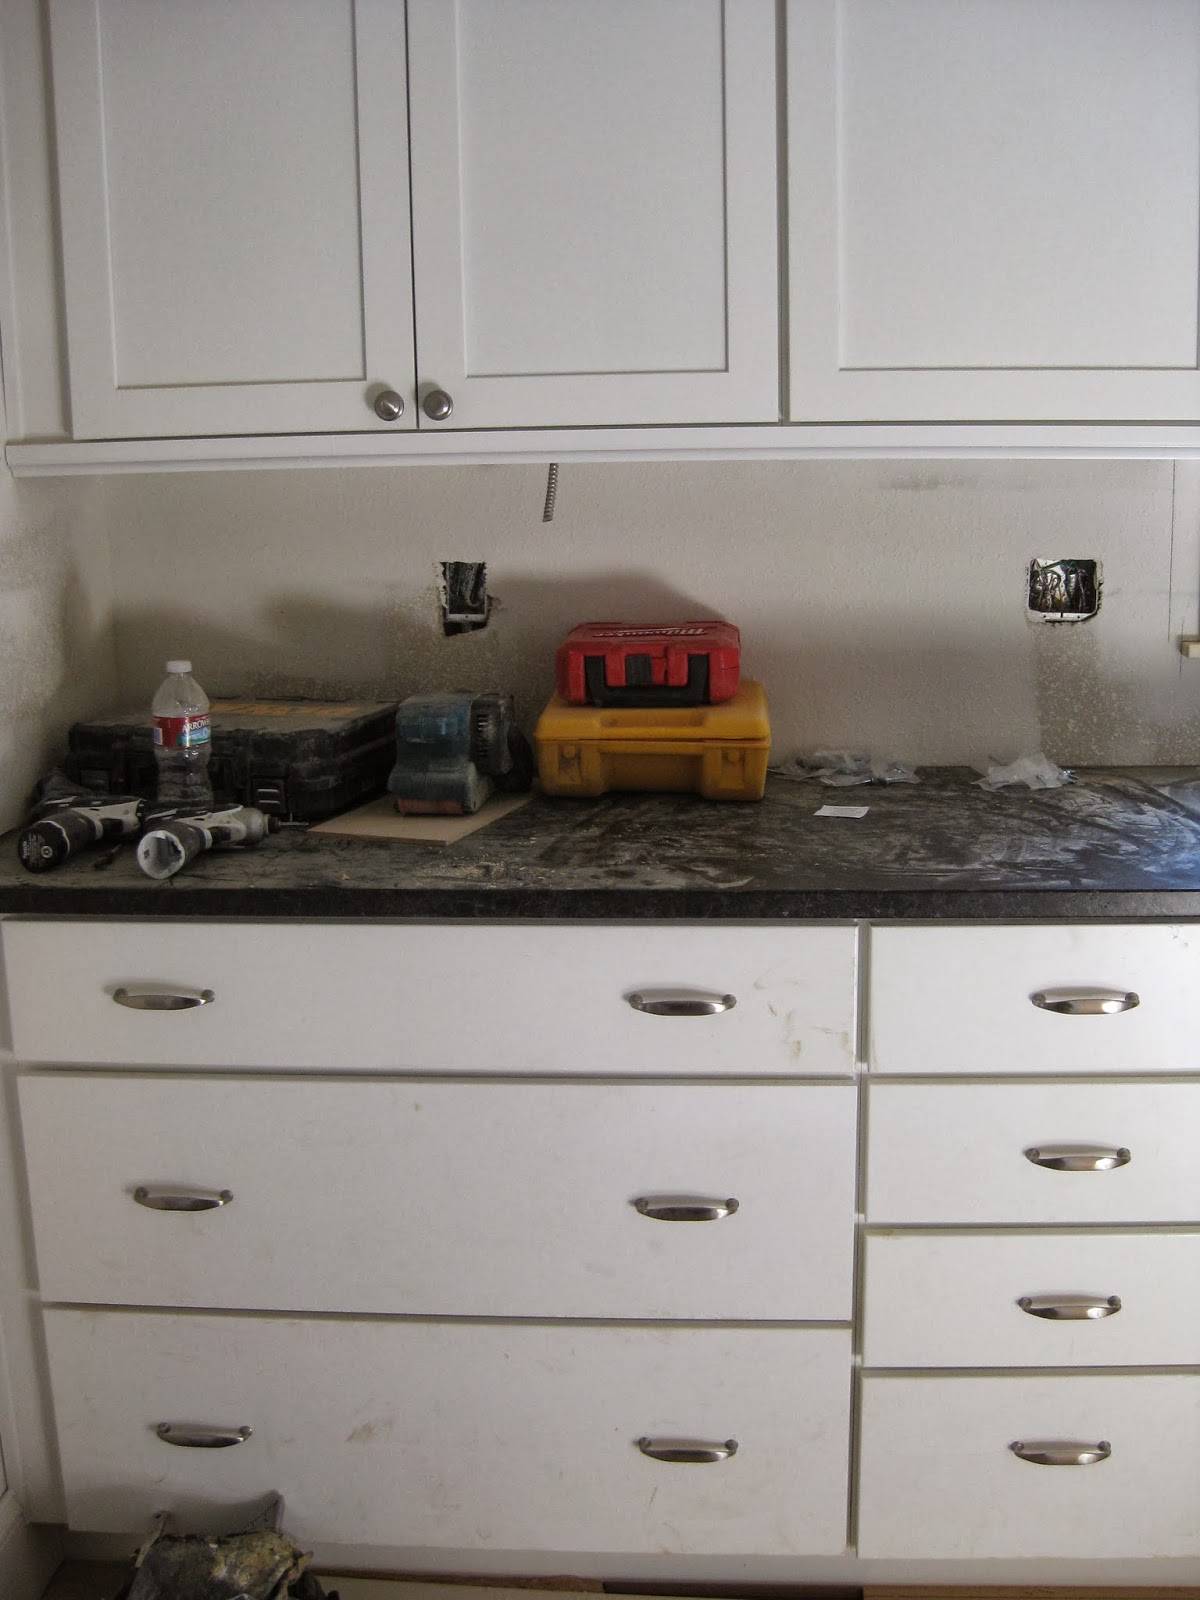
Here are photos of the cabinet knobs and drawer pulls in the kitchen, which have a satin stainless finish


Here are the chrome knobs for the vanity in the master bathroom


The knobs in the guest suite bathroom are solid black, 


as are the knobs in the 3/4 bathroom off the gathering room, 


and the black knobs are also in the laundry room on the wall cabinets and the drawers and corner unit under the counter top.


The finish carpenters also set the hardware that will hold the handrail for the basement stairwell (shown in this photo).  I think they will install the actual wooden rail tomorrow.


The head finish carpenter and I discussed the design for the headboard he will build for the master bedroom that will match the fireplace and chest of drawers.

I am guessing that the next blog post will probably be called something like..."Painters rock," as they have set up their gear in the master bedroom, covered the hardwood floor, and began to put wood filler on the nail holes in the mill work today.  Their plan is to finish the master bedroom wall texture, put on a coat of primer and then paint it.  I can't wait.