Thursday, January 2, 2014

Slow tile and trim....

SLOW TILE AND TRIM....

January 2nd --  The New Year has started and this project continues on, but at a much slower pace today than on the last day of 2013.  On December 31st the finish carpenters arrived at 7:30 am and there was a crew of three.  They came early because they intended to leave early to usher in the New Year.  It was clear that none of the finish carpenters were planning to work on January 1st!  

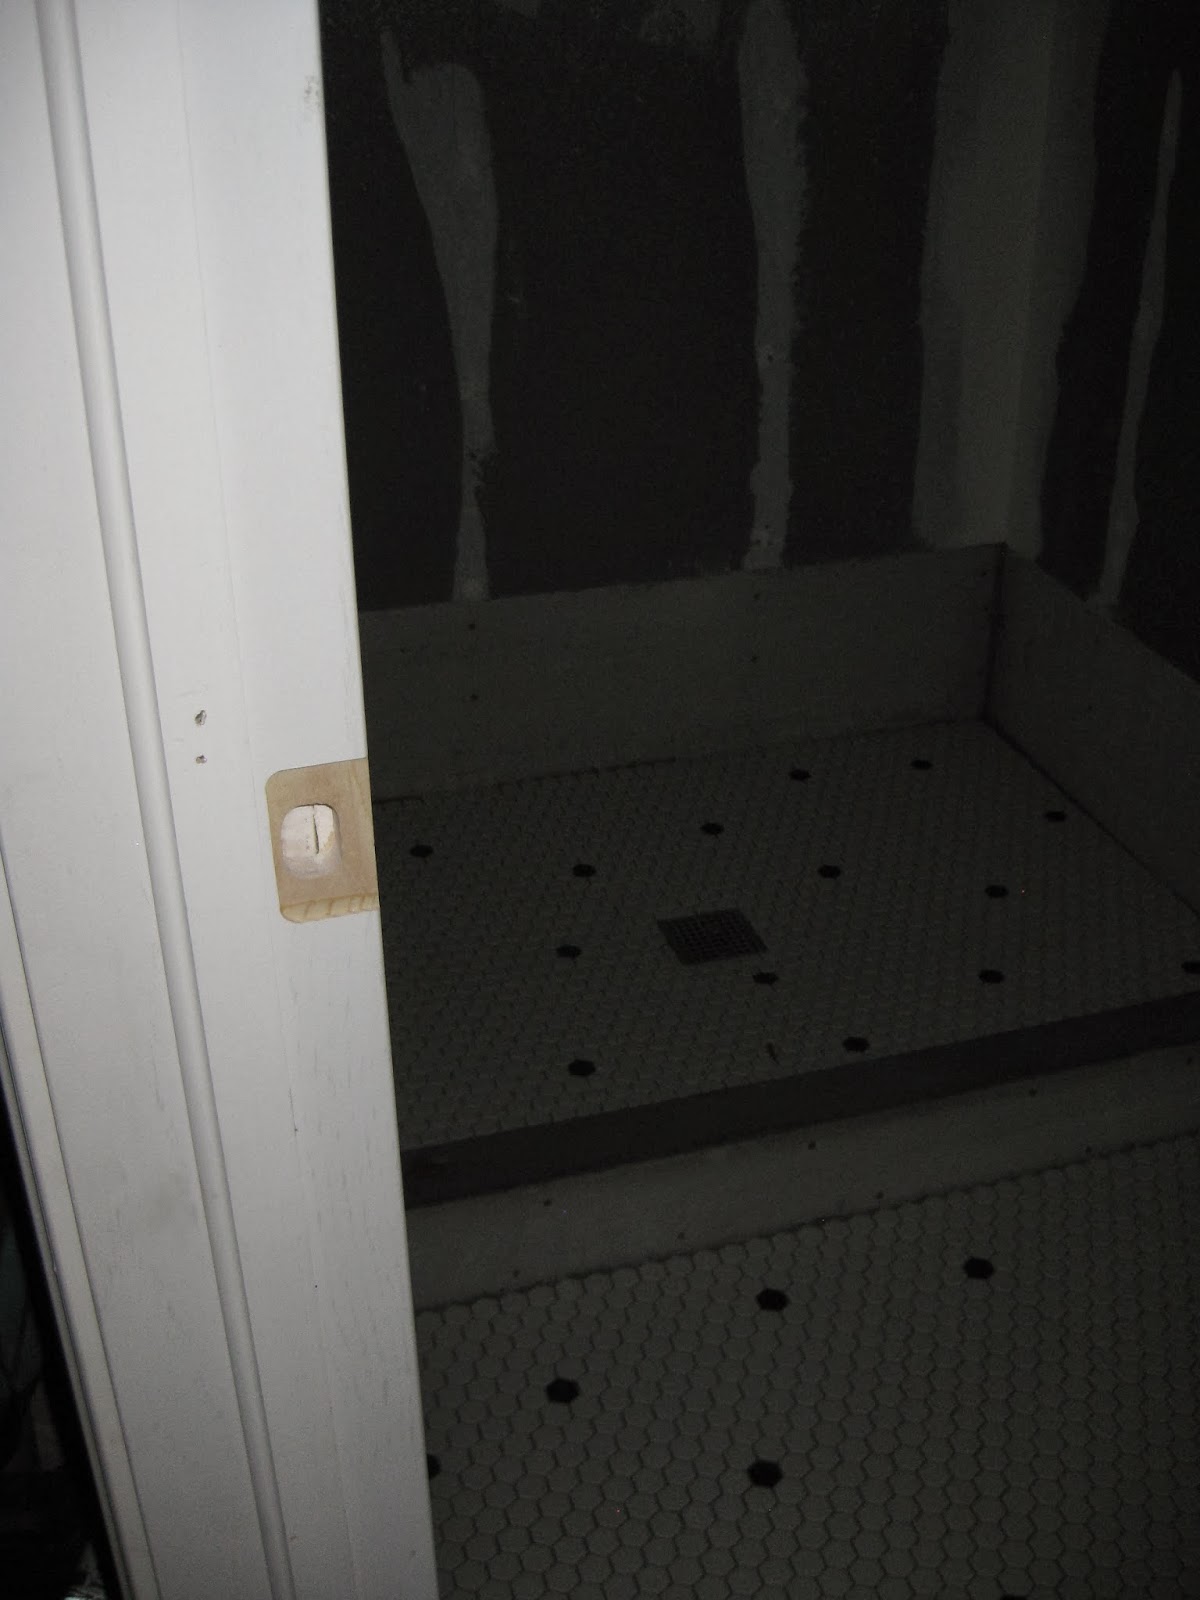
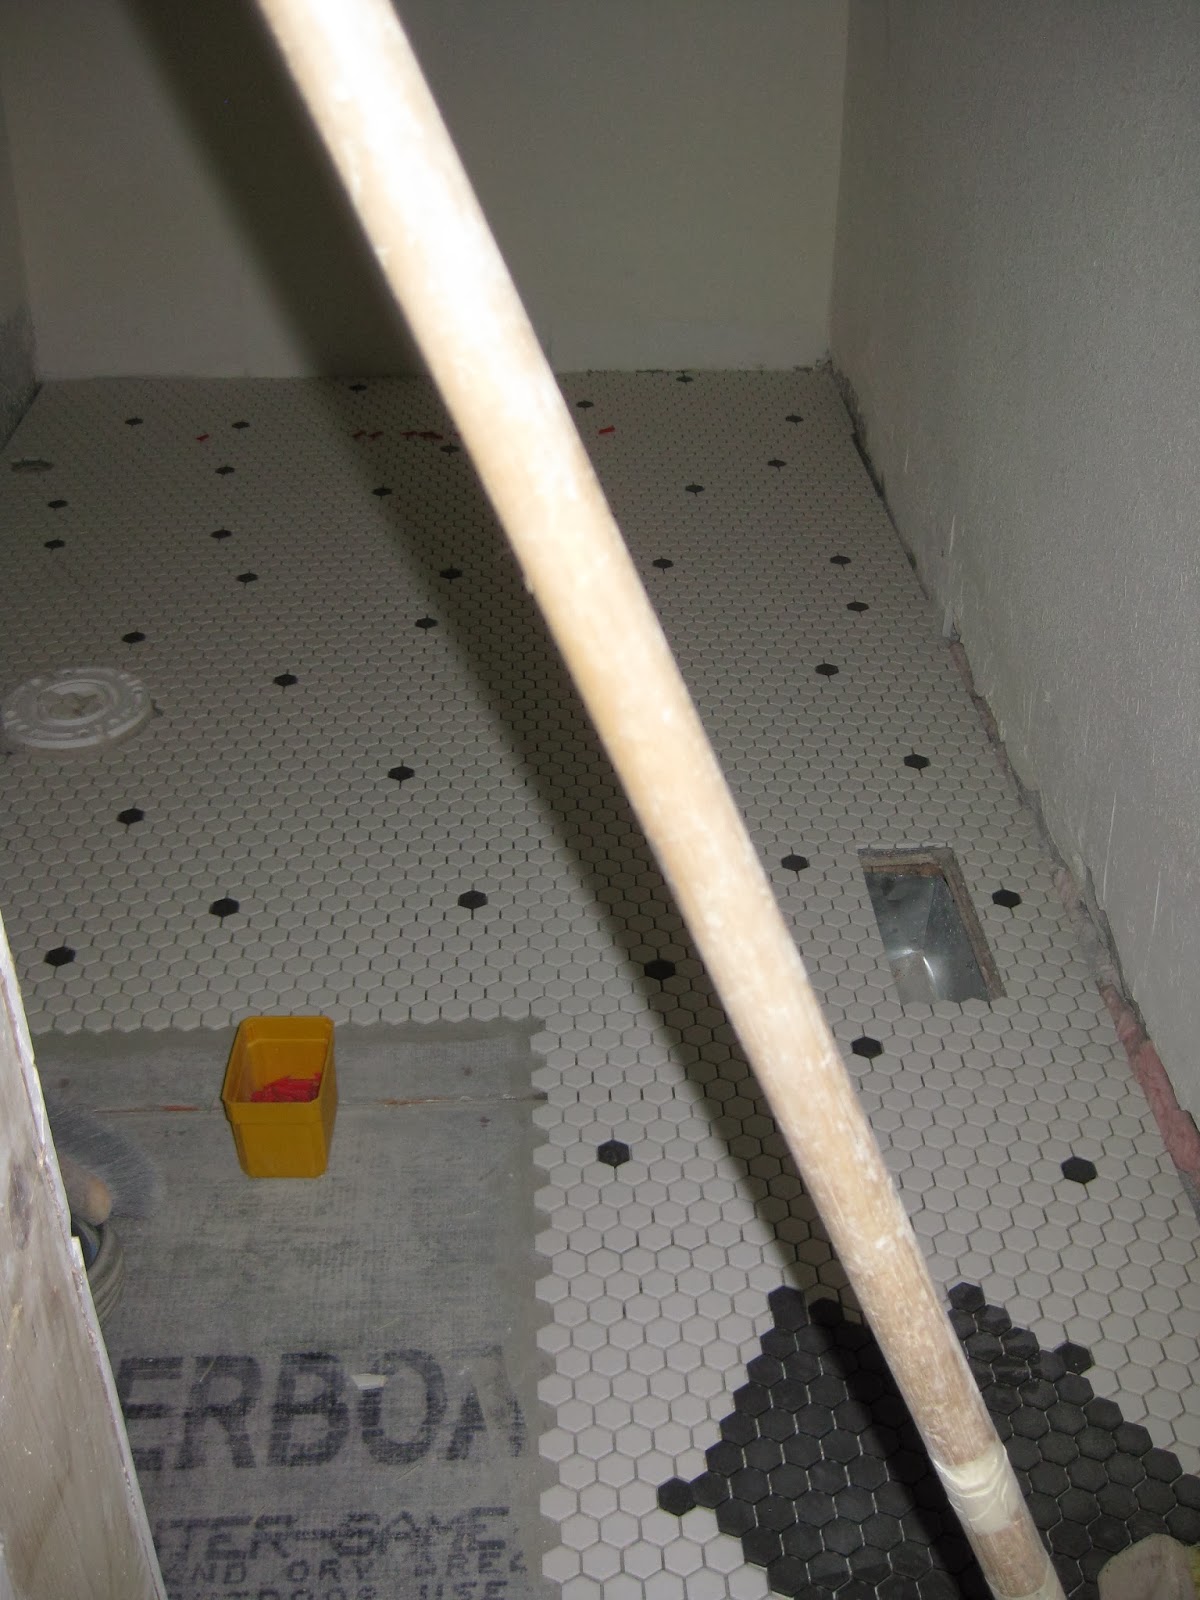
There is only one person setting the tile, and there is a lot of tile to set. By the end of 2013, the tile floors for the two bathrooms on the main floor were done and work on the tile walls for the shower in the 3/4 bath had started.  The photos below show the progress up to today -- the first work day of 2014. 

Only one person showed up on New Year's Day, and I'll reveal who that was later on, but maybe you can try to guess.

Below is the large subway tile wall for the shower in the 3/4 bath off the gathering room.  The tile will go to the ceiling in the shower, and wrap around the wall to where the toilet will be installed, as shown below.  In the photos below, the green circles are not part of the tile, just temporary disks to hold the tile in place while the grout sets.


Here is a view of the 3/4 bath with the vanity set in place, the subway tile wrapped around the outside of the shower wall, and the space where the toilet will be installed.  We discussed putting the extra subway tile on the wall between the shower and the vanity (behind the future toilet) if there is enough subway tile left over.


The floor in the guest suite bathroom is also done, as shown below.


Any guesses about who showed up on New Year's Day?

When the original wall between the dining room and the old downstairs bedroom (before it was renamed the "guest suite") was moved to create the guest suite, no one noticed that the door leading into the new closet would not be on the same plane as the wall.  This means that when the door to the closet was framed and hung, as shown in the following photos, a small "box"  about an inch or so projecting from the wall (shown as the white, floor to ceiling, trim next to the closet door) needed to be built to put the door and the wall on the same plane.  When the contractor explained this to me, it was my understanding that the "box" would go from the door frame to the wall, but as you can see below, that did not happen, and the "box" stops midway between the door and the wall.  So, I explained to the contractor that the box below looks odd, makes that wall space useless, especially if I wanted to hang a picture or even a mirror on that wall.  He explained that if the box is built to meet the new wall, it would partially obscure the electrical outlet on that wall (look for a black square near the corner of the bottom of the wall).  Why the electricians put the outlet so close to the corner is beyond me.  I insisted that the box be enlarged to span the space between the door frame and wall, even if it means that the trim plate for the outlet has to be trimmed -- the contractor explained that I could pay an additional $85 to have the electricians come back to move the outlet. Really?


 Needless to say, the contractor has been in a foul mood lately as he is beginning to plan for additional projects as the current ones are winding down (not sure if I would put my project in the "winding down" phase yet).  There is such a boom in building here that now contractors cannot find the labor that they need to complete the jobs that they are taking on.  During the recession craftsmen who could not find a way to survive the slow down in construction have either left the state or left the construction business.  Contractors always need to be thinking ahead, and he is now getting busy with new projects and worried about how they will get done with what seems to be a looming labor shortage -- the preview of this issue was the crummy drywall company he had to go with when his usual company was not available.  It seems that in the construction business it is either feast or famine.


The trim work to frame windows and the hanging of doors continues, but no baseboard trim has been installed yet.  I was pretty psyched that even though there was only one finish carpenter on the job today, at least he was productive.

Here are shots of the newly hung closet doors in the master bedroom suite from each end of the hallway.  For someone who has lived in this house for 26 years with virtually NO closet space, this is a very exciting development.  


 The other exciting development at the end of the day is a bit more difficult to visualize from these photos, but I'll try to walk you through it.  Where the kitchen cabinets end on the north wall of the galley kitchen (the wall where the range top and hood vent are located), there is supposed to be a small granite breakfast bar counter top that makes the transition into the gathering room.  The main support wall for the breakfast wall extends past the end of the cabinets for about 15 inches and will connect to the wall near the doorway to the 3/4 bathroom.  I requested that the section of the wall that faces the kitchen be constructed so that it was open with small shelves for a spice rack, which would be most convenient to the range top.

Ta duh...here is the roughed in support wall for the granite breakfast bar.  The adjustable shelves, with a little lip so the spice bottles don't just off the shelf, are stacked vertically below, and I put one of these shelves on top of the stack in its horizontal position to give you an idea of what a cool little feature this will be.


Here is another photo that gives a better sense of how the granite breakfast bar will be supported and connects to the existing cabinets.  Once the template is made for the granite counter top, the granite breakfast bar will be supported by the "spice rack" wall and two corbels that will be attached to this little support wall.
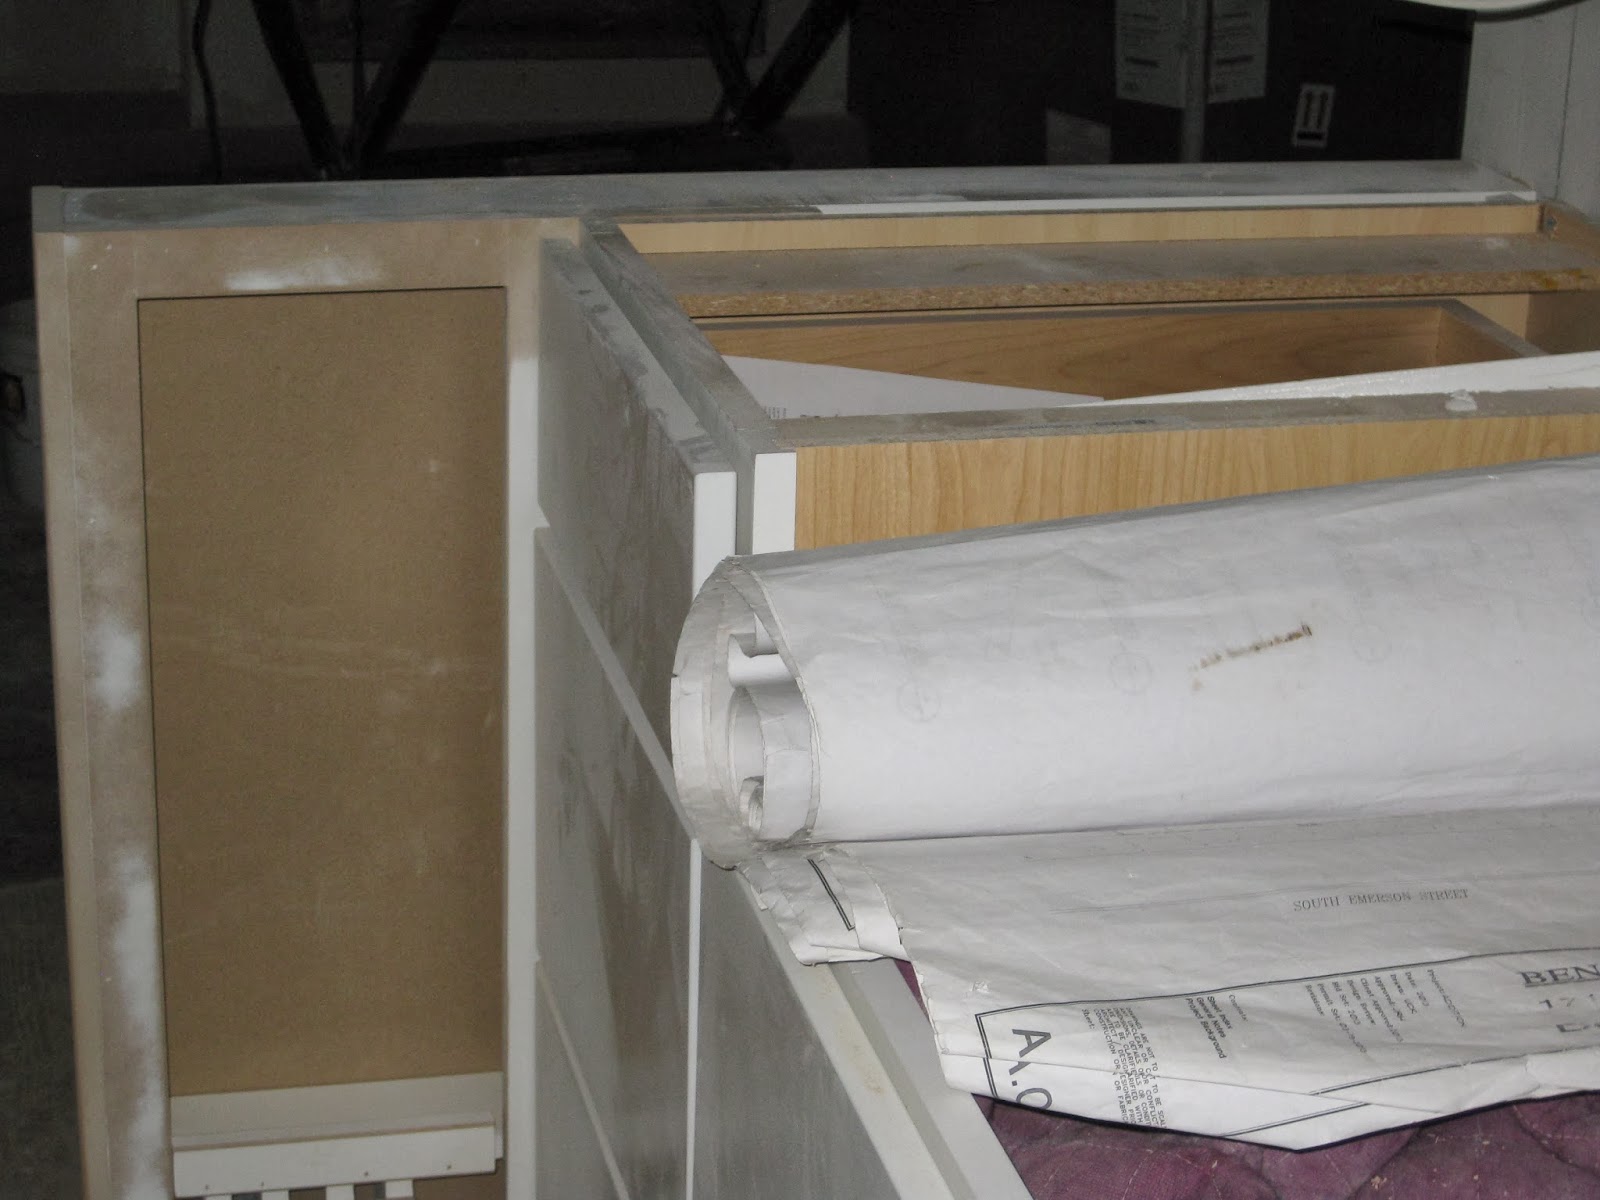

 So, who showed up on New Year's Day?

I had received an e-mail early evening on New Year's Eve from the heroic painter.  You might remember that he was elevated to hero status when he pulled an all-nighter to complete as much of the dry wall prep as he could before leaving for a 10-day holiday visit to his family.  The e-mail was to tell me he was back in town and eager to get back on the job.  He asked if he could stop by around noon on New Year's Day to see the progress that had happened while he was away and so that he could begin to form a plan for the drywall work and painting that he would need to do next.  

When he showed up, we walked through the house together and he told me that he felt that he wanted to redo some of the texture work because he wasn't 100% happy with it.  This guy takes tremendous pride in his work, which I very much appreciate. 

We are still feeling the effects of the "drywall debacle" because the sequence of tasks that remain is still off.  There is no way that the painter can do what he wants to do, especially because the finish carpenters and tile setter are having enough logistical problems just trying to work around each other.  Now, add the painter into that mix and soon, the electricians to install outlets, switches and fixtures, the plumbers to install the plumbing fixtures, the crew who will need to sand and finish the hardwood floors, and well, you get the picture.   The painter recognized this logjam and told me that he is eager to return to this work site and is willing to put in 10-hour days, if need be.   He promised to meet with the contractor to figure out the logistics.

 And, this is why he continues to be the heroic painter!


Monday, December 30, 2013

Tile and trim.....

Tile and trim....

December 30th  -- At 8:03am the house came alive with 4 craftsmen and a visit from the contractor. 

The tile setter's goal was to set all the tile floor on the main-level, starting with the shower floor and the bathroom floor in the 3/4 bath off the gathering room, shown in these two photos, with arctic white hex tile with a black hex thrown in randomly to break up the white.  The white and black hex tile is "period appropriate" for the age of my house.


He also set the slate tile in the pattern I created for the rear entry to the mudroom


And, near the end of the day when I arrived home, he came running after me to say that he just ran out of the white hex tile, so the bathroom in the guest suite is about 80% done, as shown in these photos.  I got on the phone to the contractor who will bring the needed 5 sheets of the arctic white hex tile by tomorrow morning.


The crew of finish carpenters are focusing on hanging the remaining doors and trimming the doorways.  Here is the trimmed doorway that goes from the gathering room to the stairwell to the basement.  Eventually, the finish carpenters will build the "wall of bookcases" around this doorway.


They also installed the pocket door, which looks like this.


A new member of the finish carpenter crew arrived today and he was sent to work in the master bedroom to hang doors and to begin trimming the windows and doorways with the mill work.

Here is a photo of a trimmed window in the master bathroom.
   

And, here is a close up of the detail in the mill work for the window trim.


By the end of the day, all the windows in the master bedroom were trimmed and "silled":


And, the door to the master bedroom suite was hung, but not yet trimmed.


During the morning visit from the contractor, we discussed the advantage of installing a mini-pendant light over the sink, rather than a canister light fixture.  So, I will return to the lighting store to order one more mini-pendant light fixture that will match the two pendant lights that will hang over the breakfast bar.

Speaking of the breakfast bar, the contractor, head finish carpenter and I agreed on a design where corbels will extend from a support wall to hold up the granite top of the breakfast bar.  The two corbels will match the design of the exterior corbels.  The support wall will be open on the side facing the kitchen so that I can have a few shelves to hold my spices that will be in easy reach when I face the range top.

The head finish carpenter also needed to ask me questions about the interior design of the master bedroom closet and the shelves in the pantry.  As we were discussing the closet shelving, he pulled me aside and said something to the effect that he understands the importance of closets and to assure me that he is a "closet guru" who will work to maximize storage space -- music to my ears.  Sure enough, when we moved to the pantry to discuss the shelving, he suggested a great design that would also accommodate a space for the vacuum cleaner, with shelving above so as to not waste storage space, as well as the installation of a bar to hang brooms, mops, and so on.  He even suggested a special shelf to hold heavy equipment, such as a professional mix master, which I do not currently own, but who knows what the future will hold with all this space for future kitchen gadgets and gizmos.

In the mean time, I'm pretty sure that I have settled on the interior paint color, "on the rocks" and below is a sample of the carpet for the stairs next to the white trim and the paint color.  


I ran over to the store to pick up a knob that I think will work for the kitchen cabinet doors, and narrowed down the choice to two drawer pulls.  I will mess with these tomorrow and try to decide on the drawer pull and when I do you'll see that hardware.  

So, the tile and trim are the focus this week, and the progress is moving along nicely.  There is a bit more work that needs to be done to some of the drywall in some of the rooms, and I look forward to the painting crew returning in a few days from their holiday vacation.


Sunday, December 29, 2013

Not a blank slate....

Not a blank slate....

December 29th  -- Today's homework assignment was to take the 16 12" by 12" Italian slate tiles that will be installed at the rear entry into the mud room.  As you can see from these photos, each slate tile is unique with its own pattern of browns, gray, blue, and variations of color in between.  I worked to arrange each one of the 16 tiles in a way that would look interesting, and this is the pattern that I came up with.


These photos show the pattern that I came up with from different views from walking into the mud room


 to being inside the mudroom....


These slate tiles have a slight surface texture that I hope they will catch and hide enough of the "outside" on the bottom of the shoes that will come through this doorway into the mudroom, especially during winter and from the garden in the summer.

 After I played around with arranging the tiles, I numbered them 1 to 16 and taped an individual number to each tile.  


I created a schematic of where each tile will be placed -- the member of the tile installation crew, who is a native Russian speaker, will be able to follow the numbered tile and the numbered grid so that he can set the tiles in the desired location.  My understanding is that he will set these tiles next week.


 Color me hopeless....I spent a good part of the morning throwing paint samples on walls all over the house.  I am so hopelessly confounded and confused by choosing color.  I thought I had settled on a lighter gray with a tint of blue ("On the rocks") and a warm light gray with a tint of brown ("agreeable gray").

Here they are, side by side, with photos taken at approximately noon on what is a sunny day after an overnight snowfall.

These photos were taken in the upper-level sitting room on a wall facing southern-exposed windows;

agreeable gray -- top                                                                    on the rocks -- top
on the rocks --  bottom                                                                  agreeable gray -- bottom


These photos were taken in the master bedroom, the ceiling color is called "snowbound"


Agreeable gray on the left                                        Agreeable gray on the left; On the rocks, right
On the rocks on the right                


Agreeable gray on the left and on the rocks on the right

 These photos were taken in the foyer, on the main level:

On the rocks, top                                                                         Agreeable gray, top
Agreeable gray, bottom                                                             On the rocks, bottom


These photos were taken in the living room/temporary kitchen with an eastern window and a southern window:

Agreeable gray, top
On the rocks, bottom


                              Agreeable gray, top
                              On the rocks, bottom


These photos were taken in the dining room


On the rocks, left     Agreeable gray, right


On the rocks, top                                                       On the rocks, top
Agreeable gray, bottom                                            Agreeable gray, bottom


On the rocks, top 
Agreeable gray, bottom


These photos were taken in the kitchen, next to the white cabinets

Agreeable gray, top                                                 Agreeable gray, top
On the rocks, bottom                                                On the rocks, bottom


Agreeable gray, top
On the rocks, bottom


These photos were taken on various walls in the gathering room


Agreeable gray, bottom                                                                On the rocks, top
On the rocks, top                                                                            Agreeable gray, bottom


On the rocks, top                                                                                           On the rocks, left
Agreeable gray, bottom                                                                                Agreeable gray, right


On the rocks, left and Agreeable Gray, right


These colors were suggested to me by a color consultant at the Sherwin-Williams store yesterday.  I asked for lighter colors than the ones I tried previously and I explained the nature of my house, showed her lots of photos (albeit in my phone), and told her than I was leaning to a preference for a light gray with a hint of blue or a warm gray, but that I was having so much trouble with selecting a color that I was also open to "warm neutrals," as long as they were not too yellow or too peach.  The idea between these two colors, "on the rocks" and "agreeable gray" is that I would take a monochromatic approach with all the ceilings painted in "snowbound white," all the trim painted in a high gloss bright white, and all the walls would be the same color.  I decided that once I brought furniture into the house I could add color by painting accent walls.  Despite saying several times that I was open to other colors besides gray within the family of "warm neutrals" the color consultant steered me yet again toward the gray palette, explaining that gray is an appropriately historical color for the age and style of my house and it is "very popular" now.  I will try living with these colors and will see how they look at different times of the day when the light changes.

There is no doubt that selecting interior paint colors is 100 times worse than selecting either lighting fixtures or plumbing fixtures.....color me hopelessly confused and confounded by color.