Wednesday, October 9, 2013

Plumbing and uniform ceiling heights...

Plumbing and uniform ceiling heights...

October 9th -- Ha!  There is nothing that is uniform in a house that is 110-years old....but one can dream, right?  More about this later, but for now the good news is that with so much of the mechanical systems being replaced there will be state of the art heating (even though the heating duct work was challenging because of constraints from the age of the house and having to retrofit the duct work through the attic to the upper level rooms).  Will there be similar challenges with the other mechanical systems?

To attempt an answer, today's focus -- the first of many -- will be on plumbing.  The plumbers have been working to begin the process of laying in pipe.  Below are a few photos from the new master bathroom.

Here you can see the plumbing for the sink drains for the double vanity.


Here is the view from outside the bathroom, which also shows the pipe venting to the roof.


Back inside the master bathroom, here is where the very cool Toto toilet will be installed. 


The photo above and this next one, show that the original flooring, which was the old master bedroom, is in pretty rough shape.  A new overlay will need to be installed to strengthen the floor, or as my contractor has told me, it is a good thing that I don't weigh more than I do because I could have easily found myself falling to the floor below!


This next photo below shows a new overlay on the floor of what will be the main-level guest bathroom, and a similar overlay will be installed in the master bathroom floor (above).


When completed, the house will go from having two full baths to a total of four bathrooms (two full on the upper level and two on the main level (a full guest bathroom and a 3/4 bathroom in the gathering room addition).  Since all of these bathrooms have to connect to the main sewer line, there is a growing maze of plumbing, as shown in the photos below. 


OK, this post started out with a tease about uniform ceiling heights.  It turns out that an interesting challenge has presented itself.  Because of specifications made by the structural engineers, the ceiling height of the addition is a bit over an inch lower than the ceiling of the original house.  The architect anticipated this, and because the new galley kitchen will span the old kitchen and the new addition, the solution is to re-frame the ceiling in the old kitchen to align with the ceiling height in the addition.


These next few photos show the work of the framers that will result in lowering the existing kitchen ceiling.
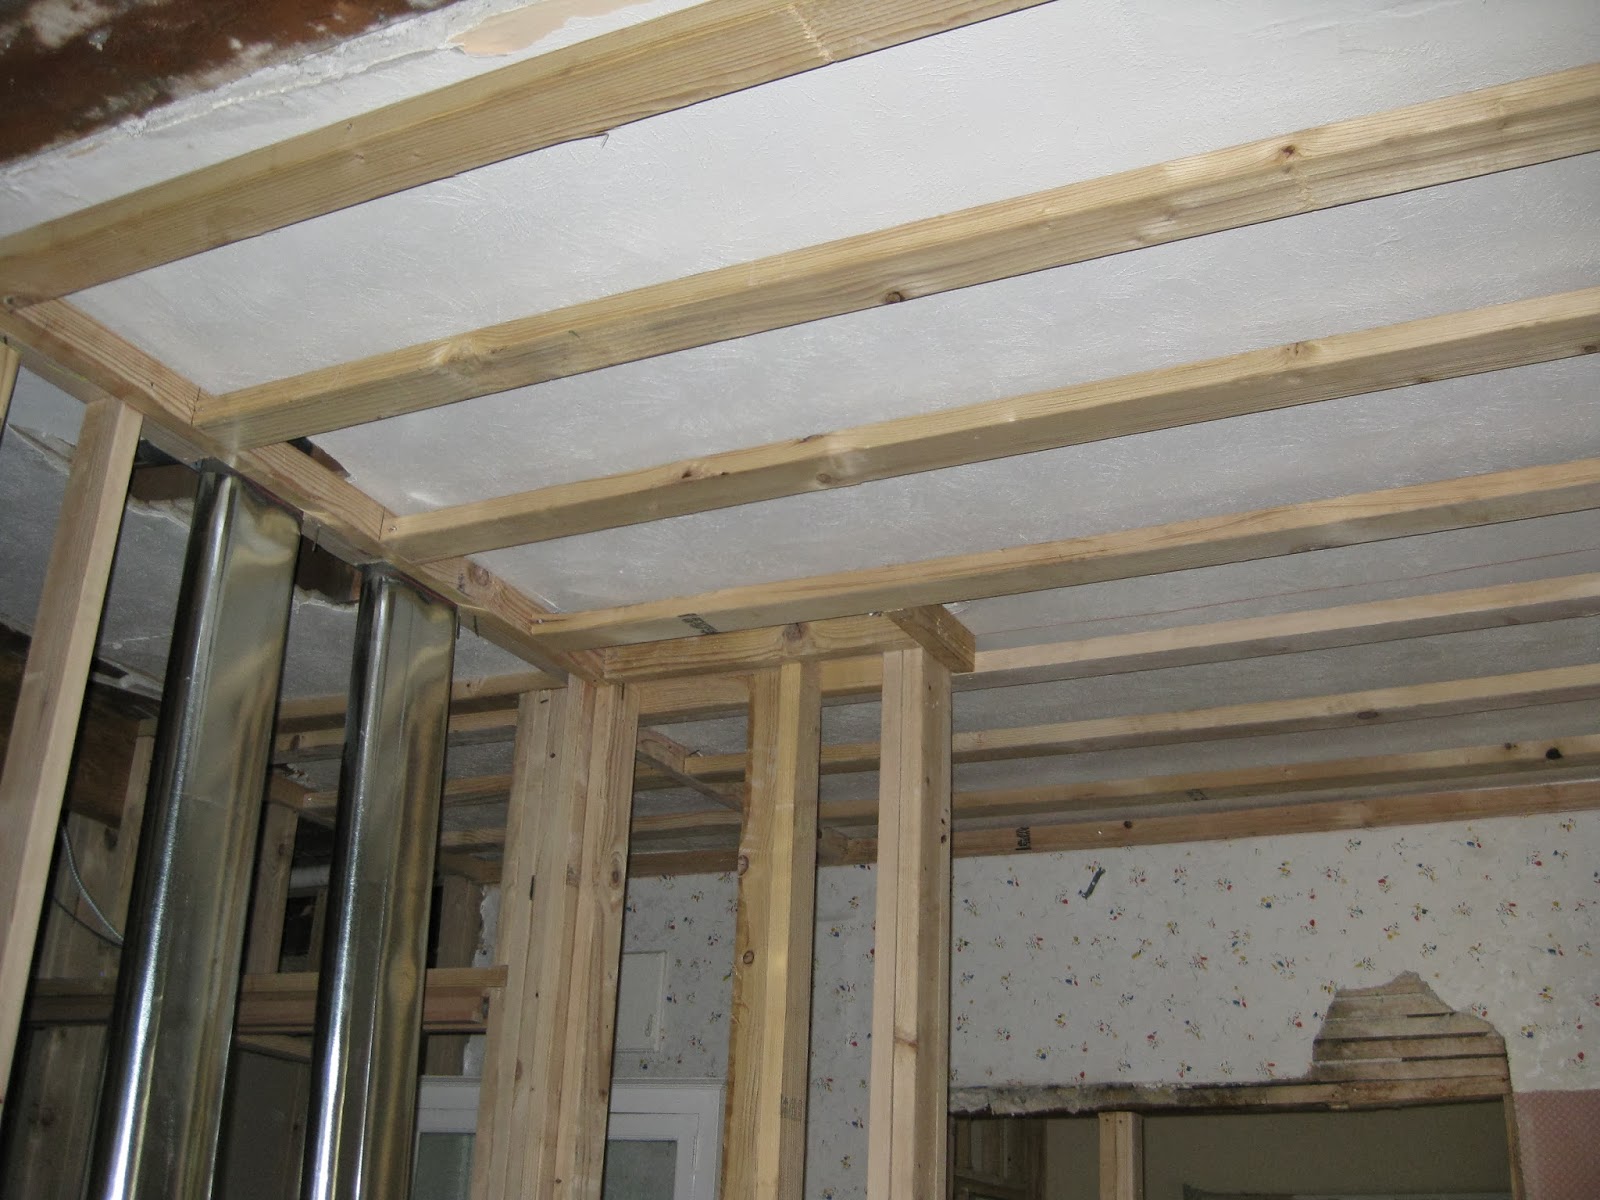


I can hear you saying, so what's the challenge in that?  Well, while the kitchen ceiling will be lowered, the floor height is also off, but only by about 3/4 of an inch.  We can't really raise or lower the floors, so the new kitchen wood floor will match the floor in the addition, but to make the transition from the dining room to the kitchen floor, a threshold will mask the slight difference in the floor height.  Yeah, I still hear you saying, so what's the challenge?  Well, it turns out that the southwest corner of the house has settled over time such that the south side of the kitchen floor has also settled to be about an inch lower than the north side of the kitchen floor.  There is no real good fix for that because the floor joists go into the brick foundation and to jack up the floor height, we'd have to go into the foundation, and .... well, you already know from earlier posts how scary that brick foundation is.  

So, when you come to visit and you are standing in the kitchen and you think that you've had too much wine because you feel like you are listing to one side, you can actually have some more wine, because it is not you that is listing!   So much for uniform anything in my old-new house....


Below you can see the original hutch that was built into the kitchen 110 years ago that will remain, but will be located just outside the new pantry and across from the new laundry room.


And, the plumbers have already roughed in the hot and cold water connections and drain for the washer, as shown below.


The framers have maybe 1-2 more days of work and they will be done for now.  After the plumbers get more of their work done, the framers will be back to frame the "boxes" that will hide the plumbing and heating duct work that don't nicely fit into the existing joists and studs.

Besides the plumbers, the electricians will come to make a major assault on rewiring and putting in new wiring.  This means that I will soon have some meetings about outlet placement throughout the house, and I'll need to make some choices about light fixtures.  After the wiring and outlets are settled, and the final framing is done, the dry-wall crew will appear, along with the much anticipated new walls. 


Dormers, just about done......

Dormers, just about done....

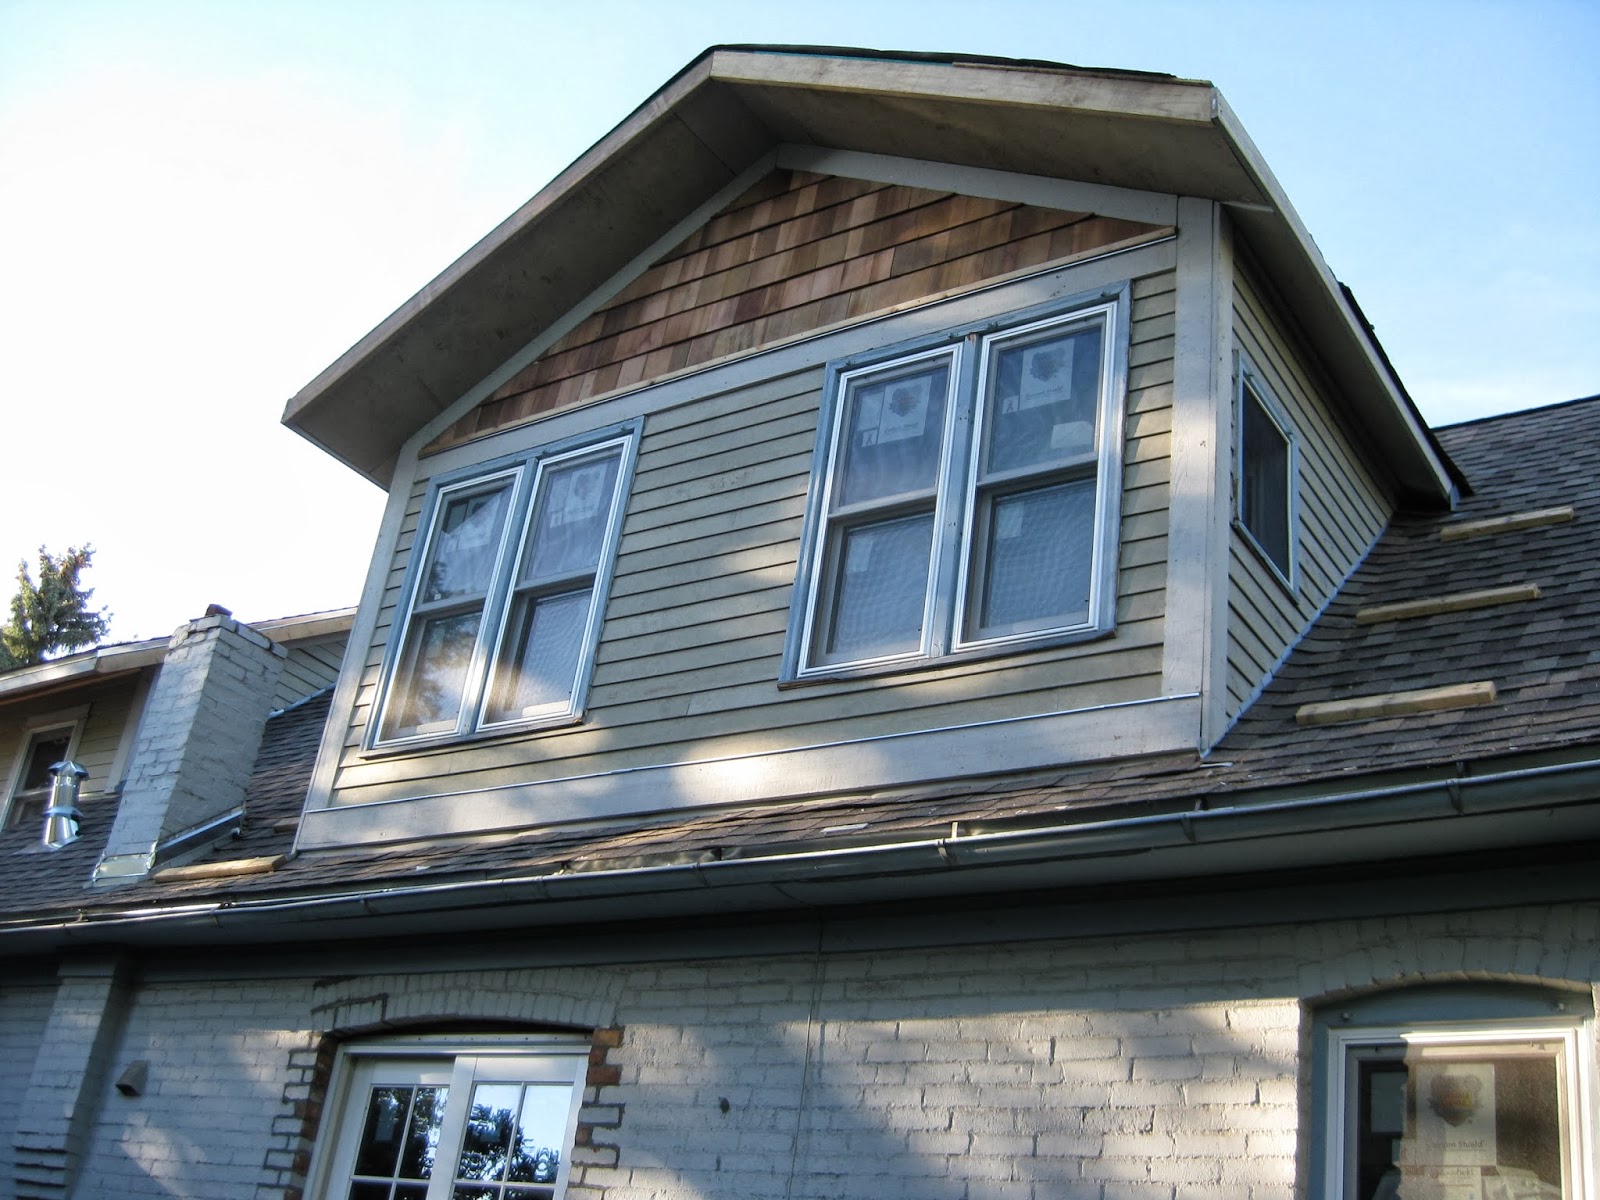
October 8th --  Both dormers are just about done.  The siding and shingles are up, but the roofers will need to do some flashing and lay some shingles on the south-side dormer.

The following photos show the repaired south-side dormer with the over-hang that the overhang that should have been there when it was built, but never was until now.


And, here is the north-side shed dormer...


Here is the view of the entire north-side of the house that gives a better sense of how the newly sided and shingled shed dormer ties into the addition with the placement of shingles and siding.

Finally, as a preview of things to come...this photo below shows the master bedroom fireplace venting (just to the right of the left-most window) and on the roof is the venting for the future kitchen range top vent!


Saturday, October 5, 2013

Changing colors, falling temps....

Changing colors, falling temps....

October 5th -- The first frost came early this year; about two weeks earlier than average.  Last night's low was in the mid-20s following the first winter-like storm that also brought a snow-rain mix; intermittent snow flurries (the flakes melted on contact), and a dusting of white on the foothills.  All this while the fall leaves are still changing their colors.


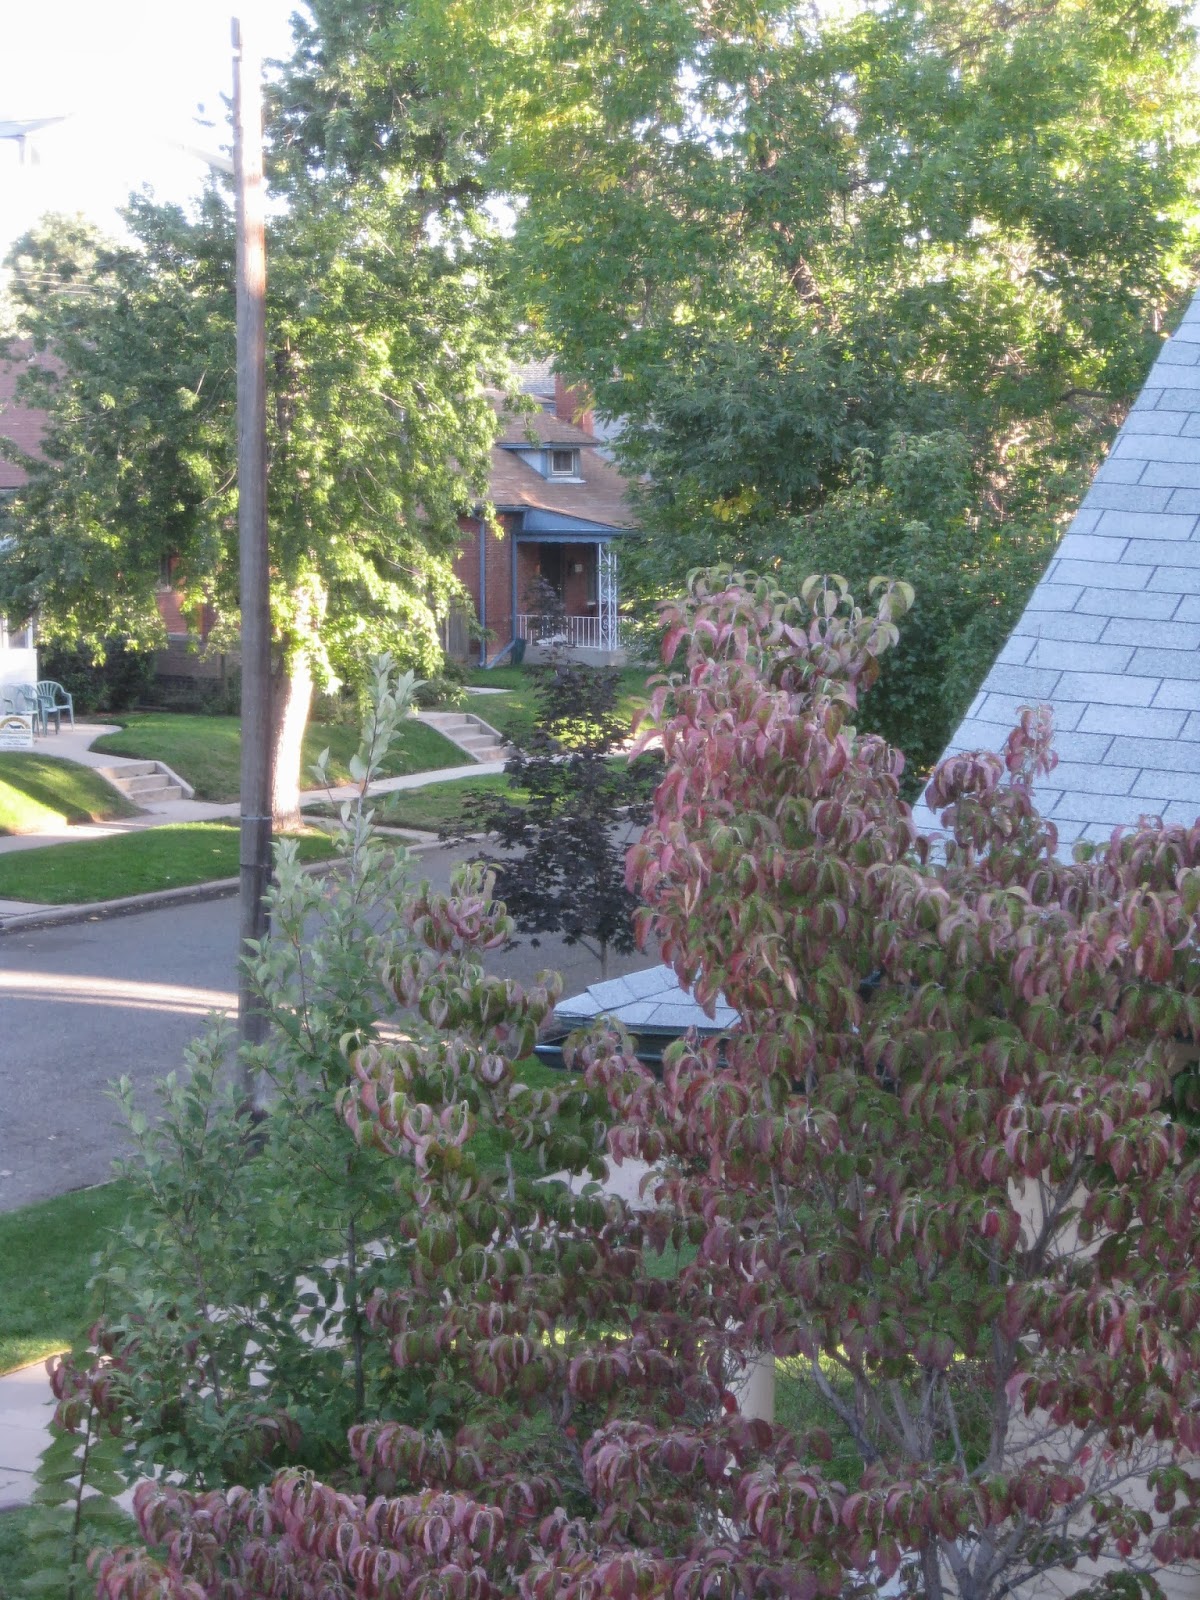
Looking to the southeast from an upper-level window, I can see the colors of fall.  


The deep reds of New England that I loved during graduate school are rare around here, but I have a lovely 25-year-old Dogwood tree in my yard (shown in the photo below) that gets as close to the red colored-leaves of fall than most anything else in the neighborhood.  Dogwoods are not supposed to grow here, but mine has beat the odds.   


On the topic of colors....my contractor has told me that it is time to pick out the exterior paint colors for the house. I've always been partial to blues, and that is where I'm headed yet again.  I've selected a "creamy blueberry" for the accent color (the darker blue below) and "steel blue" for the trim color (the lighter blue below), but I'm torn between two different colors for the base or body of the house -- a darker "granite grey" and a lighter "moonlight grey," that has a tint of blue.  The guy at the paint store said that a lighter base/body color shows more dirt than the darker shade, but he thought the darker shade was more 'dreary.'   The base or body color will cover the painted brick and the horizontal siding, and a few other features of the house (e.g., the ceiling of the front porch, some of the accent shingles).  Here's where you can help me decide.

The following photos show the different base/body colors:  below to the left, the "granite grey" is on top, while the "moonlight grey" is on the bottom 


Again, below, the "granite grey" is on the top, while the "moonlight grey" is on the bottom.

 Here the "moonlight grey" is on the top, left and the "granite grey" is on the bottom, left.


Which base/body color do you like best?  Vote now by sending your choice to me via e-mail, and I will be forever grateful to you for helping me to decide.  I'll reveal the "audience" choice in a later blog post.

With the changing colors also comes the falling temperatures.  As of a week ago yesterday, the heating system installation was complete.  However, the thermostats for the four zones have not yet been installed.  The system is currently running with a "temporary" thermostat that is not on the zone system, but is heating my living/temporary kitchen (main level) and my front office/temporary bedroom (upper level).  The exposed heat duct in the upper level bathroom provides some warmth in the bathroom.  

As the temps fell last night I was pleasantly surprised by how toasty my office/temporary bedroom was.  I'm pretty sure that this may have been the first time in 110 years that there was heat in this room. other than from a portable electric heater.  It was awesome!  Although I'm now sleeping in my three-season down sleeping bag (it functions more like a down comforter than a sleeping bag), the coldest night of the year so far was amazingly comfortable.  In fact, I was so toasty that I slept in this morning, which is a rare thing for me!

The falling temps also signal the need to change over my summer clothes for warmer clothes.  Although this has always been a significant effort in an old house with only one true closet, this year the challenge is a bit different.  When I had to "pack up" the contents of my house last spring, I tried the best I could to plan and anticipate what clothes I would need.  Of course, with spring and summer mostly on my mind, I selected some fall/winter items, but in retrospect, probably not enough.  So, last night I filled a box with summer sandals, shorts and t-shirts to take to the garage.  This afternoon I attempted to locate a few pairs of fall/winter shoes, socks, a couple of sweaters and one of my most favorite clothing items of all time -- soft corduroy shirts.  

There is literally a mountain of boxes in my garage, and I attempted to climb that mountain with mixed results.   I did find a couple of pairs of winter shoes, but not exactly a specific pair I had in mind; nevertheless, my feet are now ready for the snow.  Oh well...I did find a heavy cotton sweater (where is the box with the wool sweaters?), and I recovered several pairs of warm socks.  I did find two soft corduroy shirts, but that heavier-weight jean jacket is probably in the only wardrobe box that was inaccessible.  All was not lost because I did find a heavy-weight "Mad Men" hooded sweatshirt.  When it comes time to unpack and move all the stuff that is boxed up in the garage back into the house, I'm sure there will be lots of wonderful surprises, as well as more trips to donate much of  what I boxed up last spring.  


Thursday, October 3, 2013

Deconstructing construction....

Deconstructing construction....

September 27 - October 3rd -- I have learned more than I ever thought would be interesting about the process of construction.  A few things that I have learned are counter-intuitive and worth sharing.   One of those things is that some times in the construction process it 'makes sense'  to "deconstruct" something that has already been "constructed" -- and, we are not talking about change orders here.


Case in point.  The roof has already been completed and passed inspection, however, that was before they reframed the dormer on the south-side of the house to include a missing over-hang that the architect said should have been there when the dormer was built -- maybe over 50 years ago.  So, now they are removing the siding from this dormer (which was replaced only about 8 years ago) and they will need to demolish part of the newly shingled roof on the dormer in order to frame the overhang and soffit.  It seems that given the many moving parts of this project, it "makes sense" with respect to the cost of logistics and staging to complete the roof when they did, and to now remove part of the shingled roof in order to complete this part of the project.


At the end of the day, here is the new overhang and the new section of roof that will need to be re-shingled.

Similar to this type of logic is the following having to do with paperwork:  My public utility has several rebate programs, including one for replacing a less efficient water heater with a more energy efficient one.  All I need to do is provide the documentation.  Easier said than done as I need to get copies of invoices, signatures from installers, and complete the rebate form.  My contractor is really good about helping with this, but he has to get the paperwork from his subcontractors and a copy of the invoice and sometimes signatures on the rebate forms.  Apparently, construction types detest anything having to do with paperwork. This morning my contractor told me that if the rebate is for $100, the subcontractor would probably rather just write me a check for $100 than actually complete the paperwork.  Who knew?

Back to deconstruction.....since they were going to be installing new siding on the south-side dormer, the contractor, architect and I all decided that we should probably remove the original cedar shingle siding from the north-side shed dormer (that contains the bathroom) and replace it with new siding.  

Here is the shed dormer with the painted cedar shingles:


Here is shed dormer sans shingles:


When both dormers are re-sided they will have the same siding, which will pull these elements together.  

The mason continues to make progress on the brick ledge -- the idea here is that once the brick is painted to match the rest of the brick on the house, it should look as if this is part of the original brick foundation.

Here is a photo of the back door, rear-entry of the house with the brick ledge (and a weird shadow from the sun as it was low in the very late afternoon sky).


The mason is laying the brick ledge around the house  and then he will lay the brick on the wall (below) where the interior gas fireplace will be.  Below you can see the vent for the fireplace.


  Here is the brick ledge progress on the rear north side of the house.


There is a bit of a race between the heating contractors and the arrival of fall and the colder temps.  These guys are trying very hard to get all the vent duct work done in the house so that I will be warm while living in the construction zone.  I very much appreciate this, although they don't seem to hear me when I tell them that I don't usually turn on the furnace until well after the first frost anyway.  Oh well.


Everywhere there is duct work there needs to be a heat register, or more cutting into the red oak floors.


It has been a real challenge to get heating to the original rooms on the upper-level.  At one point the upper-level was heated with a gas stove that was in just one room, with little heat actually getting into the other rooms on the upper level.  Below (to the left) you can see the progress in the duct work that has been put in place where the brick chimney stack was removed.  The duct work has to go up through the old space where the stack was and then through what is left of the attic to heat registers in the ceiling of the small front bedroom (which I'm currently living in), another room, and the bathroom I'm currently using.  To provide some perspective, here is hole in the floor of the bathroom where the vent has been placed (shown below to the right).  The rest of the photos show the progress in getting the heating duct up this wall into the attic.


Coming off of these main heating ducts is a network of smaller, snake-like ducts.  Below you can see the snake ducts that are located in the eaves on the north side of the house in the wall of the future master bathroom. 


Because these ducts all have to connect to the furnace, here is a sequence of photos showing just how complicated this system is -- also, if you look carefully, you can see some of the zone-heating vacuum dampers (look to the left edge of the duct below)


You can see the network of "tubes" that go from the electronic controller box that will control the vacuum system for opening and closing the dampers.


I had mentioned in a previous post that the soaker bathtub for the new master bathroom had been delivered and was sitting on the front porch.  I couldn't imagine how they would get that tub to the upper-level because there is a bend in the original staircase that presents a significant challenge when trying to move large items, such as furniture, to the upper level.  Sure enough, there was no way the tub was getting to the upper level by the stairs, so about four guys lifted the tub up and over the covered deck on the back of the house.  As evidence, here is the bathtub, in its shipping box, just inside the door to the covered porch in the master bedroom.  It should be a breeze now to get it from here into the master bathroom.


If you took note of the date of this post you'll see that it covers several days and that was because I was out of town again.  Throughout this adventure, the worst part has been when I had to leave town, and I came home from my travels to a refrigerator with no power (and rotting food)...not once, but twice.  Before I left town this time, I was better prepared;  I put up a few signs to prevent yet a third surprise.


I had considered adding a skull and cross bones or an attention-getting threat to the signs ("If you remove this electrical cord from this outlet all of your hair will fall out!).  I even told the electrician that if there was no power to the refrigerator when I returned that I would probably go "postal!" 

 I reminded my contractor that I would be away and asked if he would please check on the power to the refrigerator while I was gone.  Fortunately, my contractor has a great sense of humor and sent me a text basically telling me that my refrigerator was still running....and taking a tour of my house.  I can't express in mere words what a delight it was to return to my house to find the light on when I opened the refrigerator door!