A Snail's Pace to the End...
June 5th to 7th -- Little by little the few remaining things are getting done, but if things were going any slower, I'm sure we would be moving backwards!
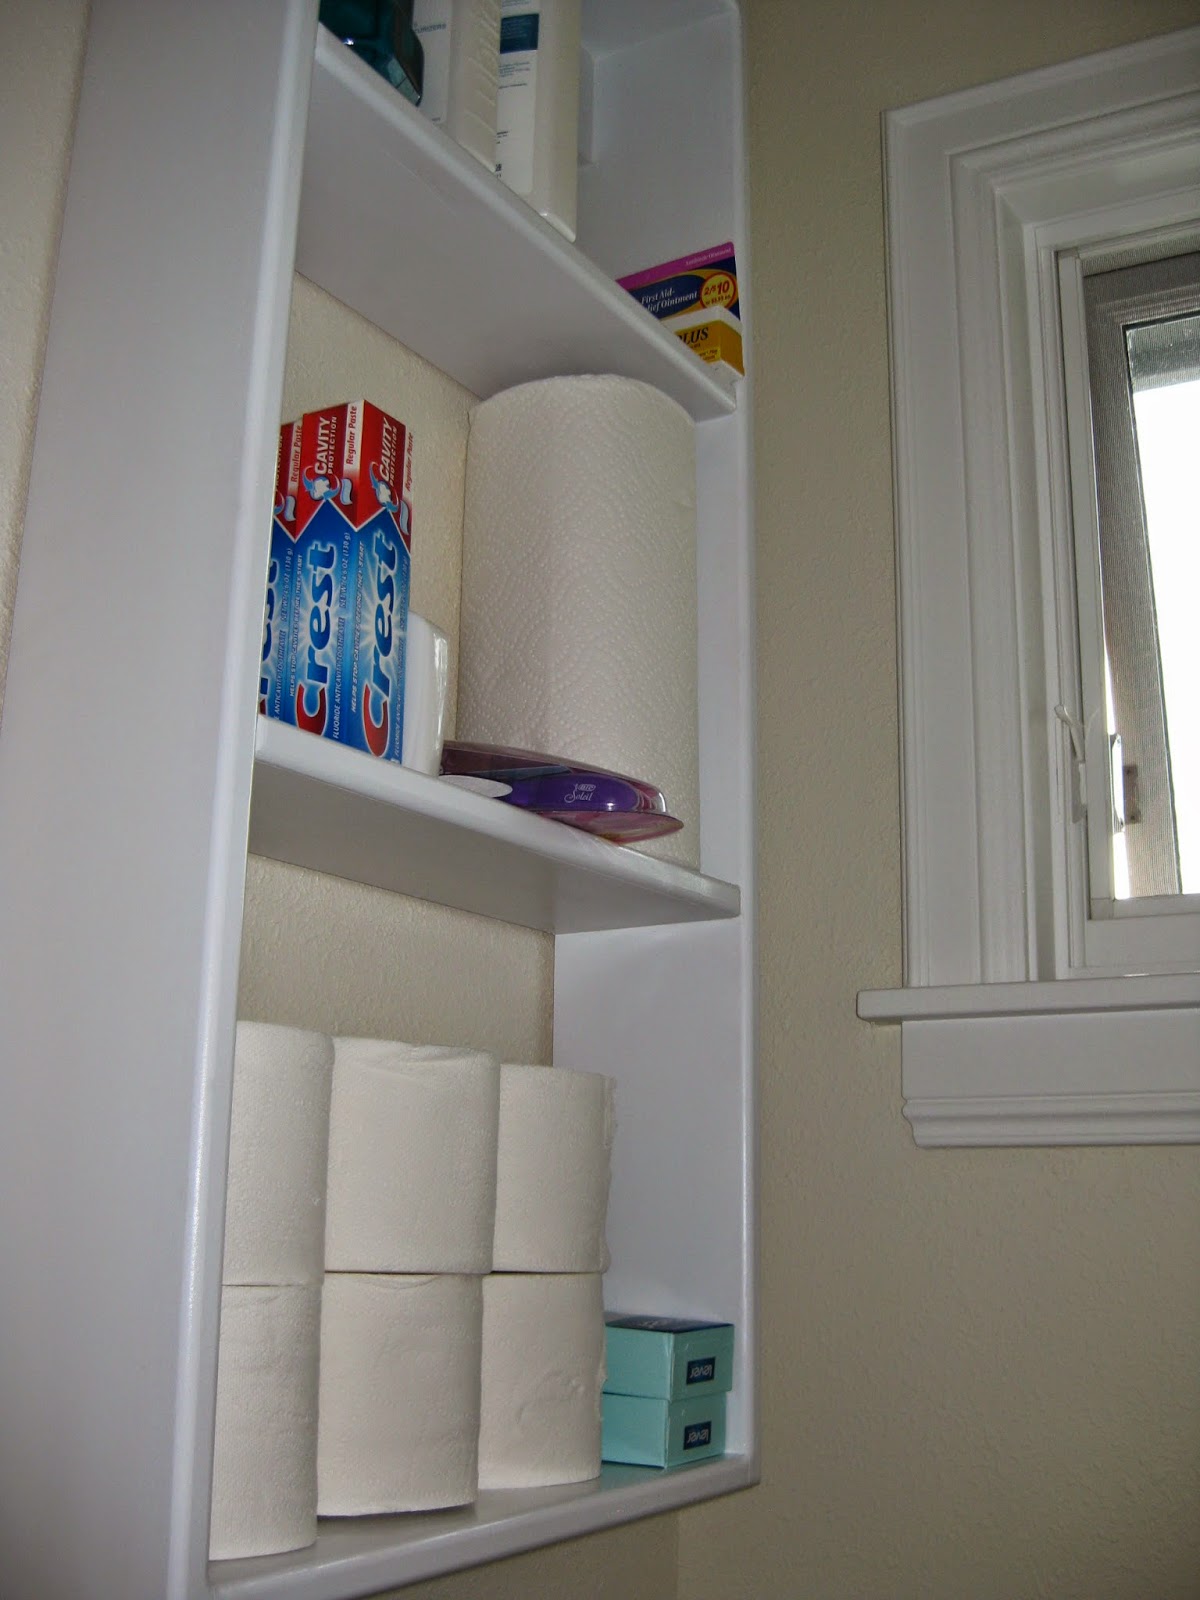
The storage shelf for the master bathroom was constructed off site, delivered, and installed. The installation was very tricky as this shelf is mounted on a wall with special framing because it is where the pocket door for the room with the toilet is located. The shelf had to be mounted above the header for the pocket door because that was the only place where there where studs that could be used for mounting the shelf. The shelf is perfect for holding TP, toothpaste, soap, etc., but as the finish carpenter told me, no chin ups!
The backflow valve for the irrigation system, and the valve boxes are located in the greenhouse. The irrigation system ties into plumbing that comes out from the house, and there is also a hose bib connected to this plumbing set up. Unfortunately, the hose bib had some leaks, which I only discovered this week. I had to wait until that leak was repaired until I could install the floor of the greenhouse.
The general idea for the green house floor was to lay down a pond liner that I could staple to the wooden base of the greenhouse to make it as weather-proof as possible. But, it was also necessary to make sure that the irrigation system valve box and plumbing could be accessible. Initially I was going to cut out the pond liner for the plumbing and valve boxes, but I decided against that because it would involve a level of precision that I wasn't sure I could provide as this was a DIY. Instead I stapled the pond liner to the wood footer on the south wall and to about 2/3 of the east and west walls of the green house. Then I put a piece of thin wooden trim that was about 2" wide along the north wall of the greenhouse, about 6" off the ground that I would clip the pond liner to so that it could be unclipped and pulled back to reveal the valve boxes and plumbing, when needed.
These photos show the pond liner stapled to part of the east wall, the south wall, and the "clip" system on the north wall.
I brought in about 2.5 cubic feet of pea gravel to provide a sufficient cover over the pond liner.
I installed the rest of the shelving on the north and south side of the greenhouse. Next I will begin moving in some trays and pots, potting soil, gardening tools, and oh yeah, I will begin to try to grow some stuff!
At the end of the day, the contractor had made arrangements for the last pile of construction debris to finally be removed -- only about a week after he told me he would haul it away.
Now you see it, and .....
now you don't!!!!!
In the mean time, the garden is thriving.
Some of the corn seedlings have emerged.
More kale has sprouted....
Some beans are beginning to peek through, and
the acorn squash has made an appearance...
The painter and I thought that all the touch ups were done, but I discovered a small problem. The touch ups in the claw foot tub bathroom was supposed to be a "flat" finish to match the sheen of the paint on the walls. The paint, however, has a satin finish. It looks like the paint company made an error. The painter will need to repaint the entire room, which will take 3 hours. He will let me know when he can put that on his schedule.
Besides this repainting, the contractor needs to clear the basement floor drain and we will go through a final budget reconciliation. And then, that should be all, folks!


